|
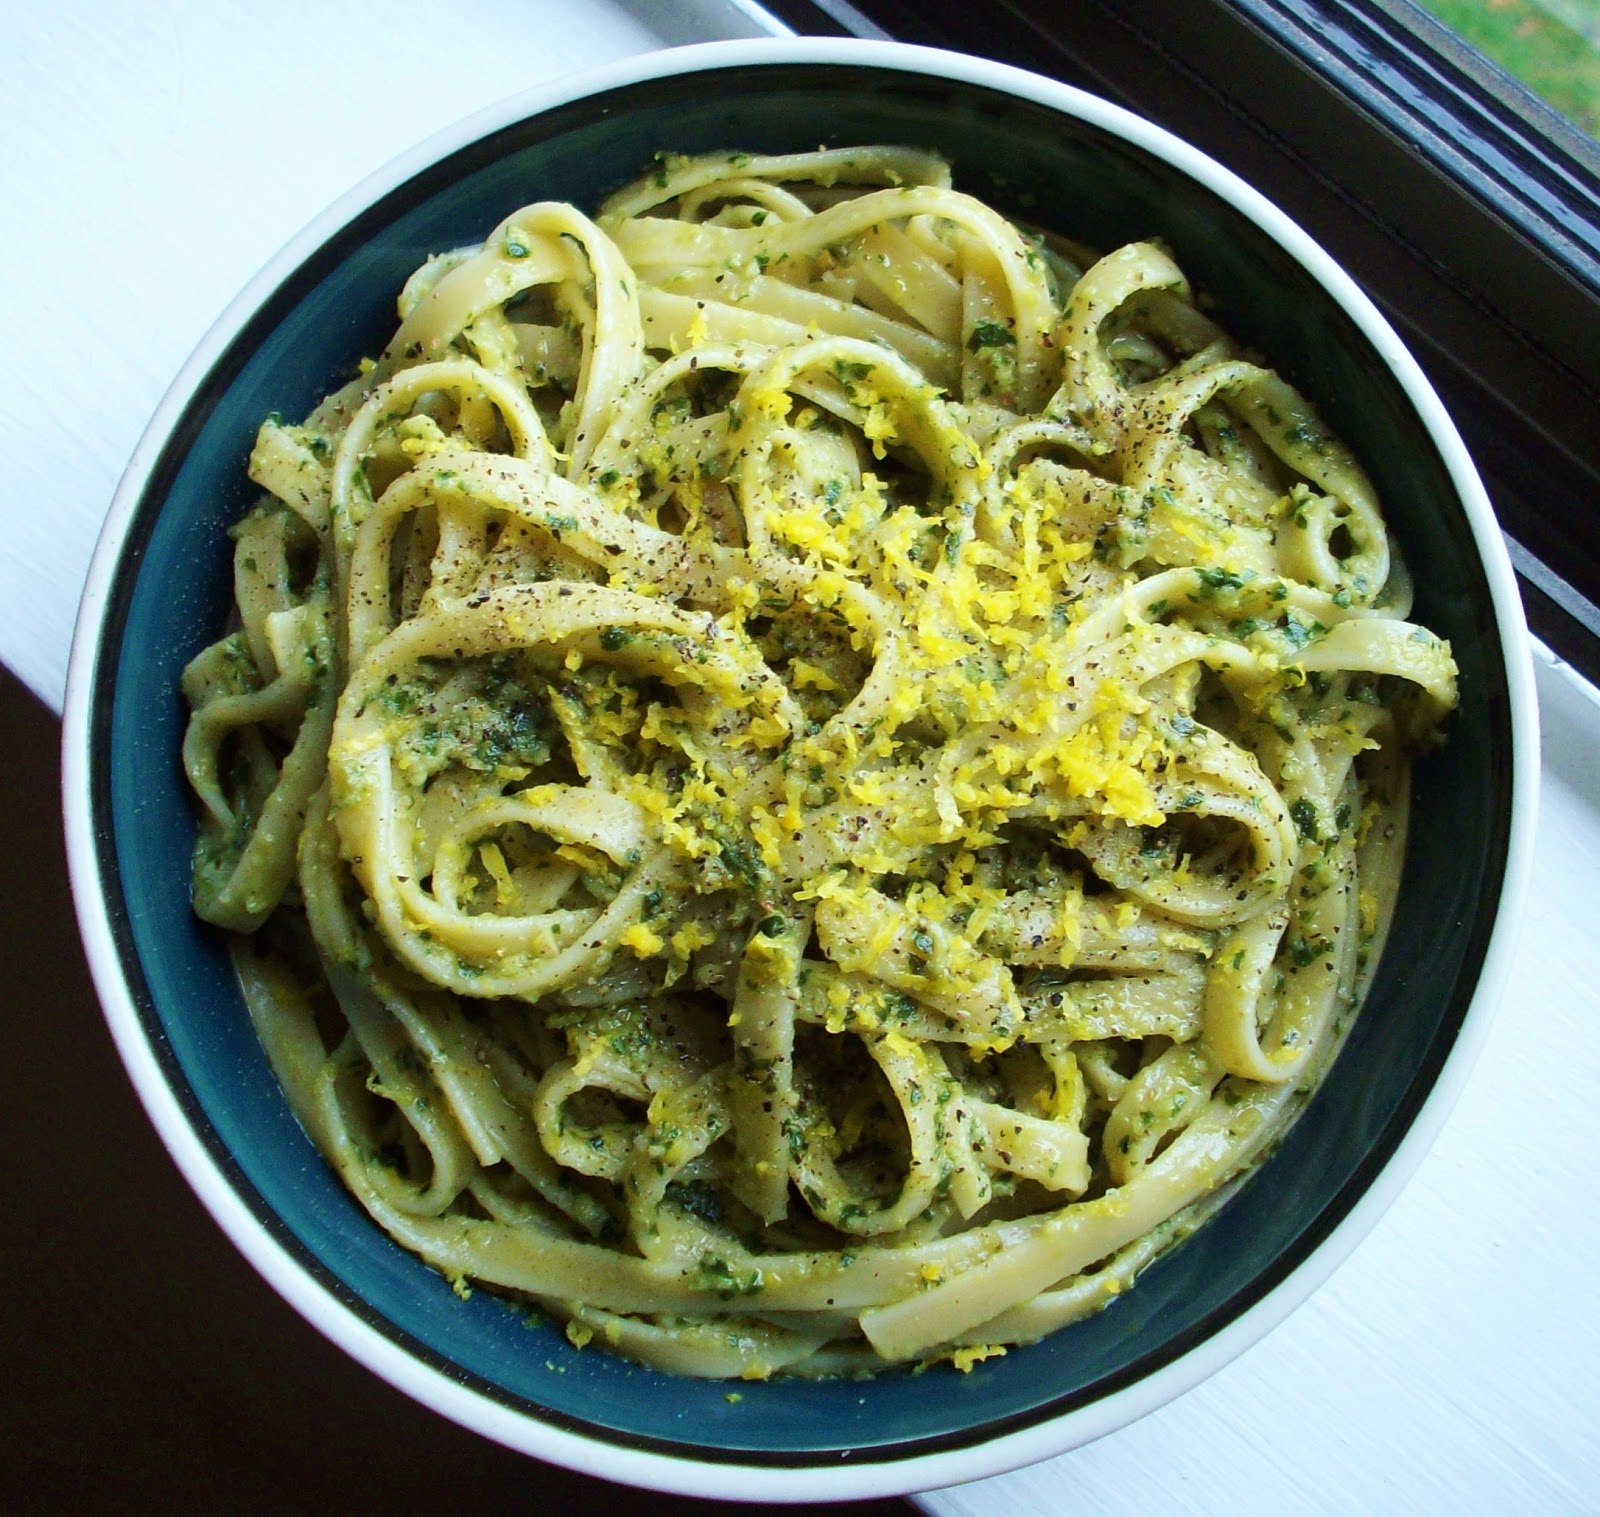
| Creamy Avocado Basil Pasta |
Did I mention that once again this recipe is from Oh She Glows? Best. Blog. Ever.
The most amazing thing about this recipe is that it take as long to make as the pasta takes to cook. So fast, so easy, and pretty easy clean-up as well.
Start off by bringing your favorite pasta to a boil. I find myself going back time again to fettuccine, and I recently bought a spinach variety that was wonderful as well. Check the package to find out al dente cooking times.
While the pasta is cooking, get out that handy-dandy food processor of yours. Add:
- 2 cloves of garlic
- 1 avocado
- juice of half a lemon
- 1 tsp of lemon zest
- 2 tbsp olive oil
- 1 large fist full of basil--about a cup
- 1/2 tsp freshly cracked pepper
- 1 tsp salt

Blend until smooth, adding an extra splash of olive oil if necessary to get that creamy consistency.

Once the pasta is done, simply drain, mix in the avocado sauce, and serve with an extra sprinkle of finely ground sea salt on top!


Note: The original recipe called for the pepper and lemon zest to be put on top of the mixed up pasta as the last step. I found that the avocado was kind of lost that way, so I started to use less of both and began blending it up in the sauce instead.
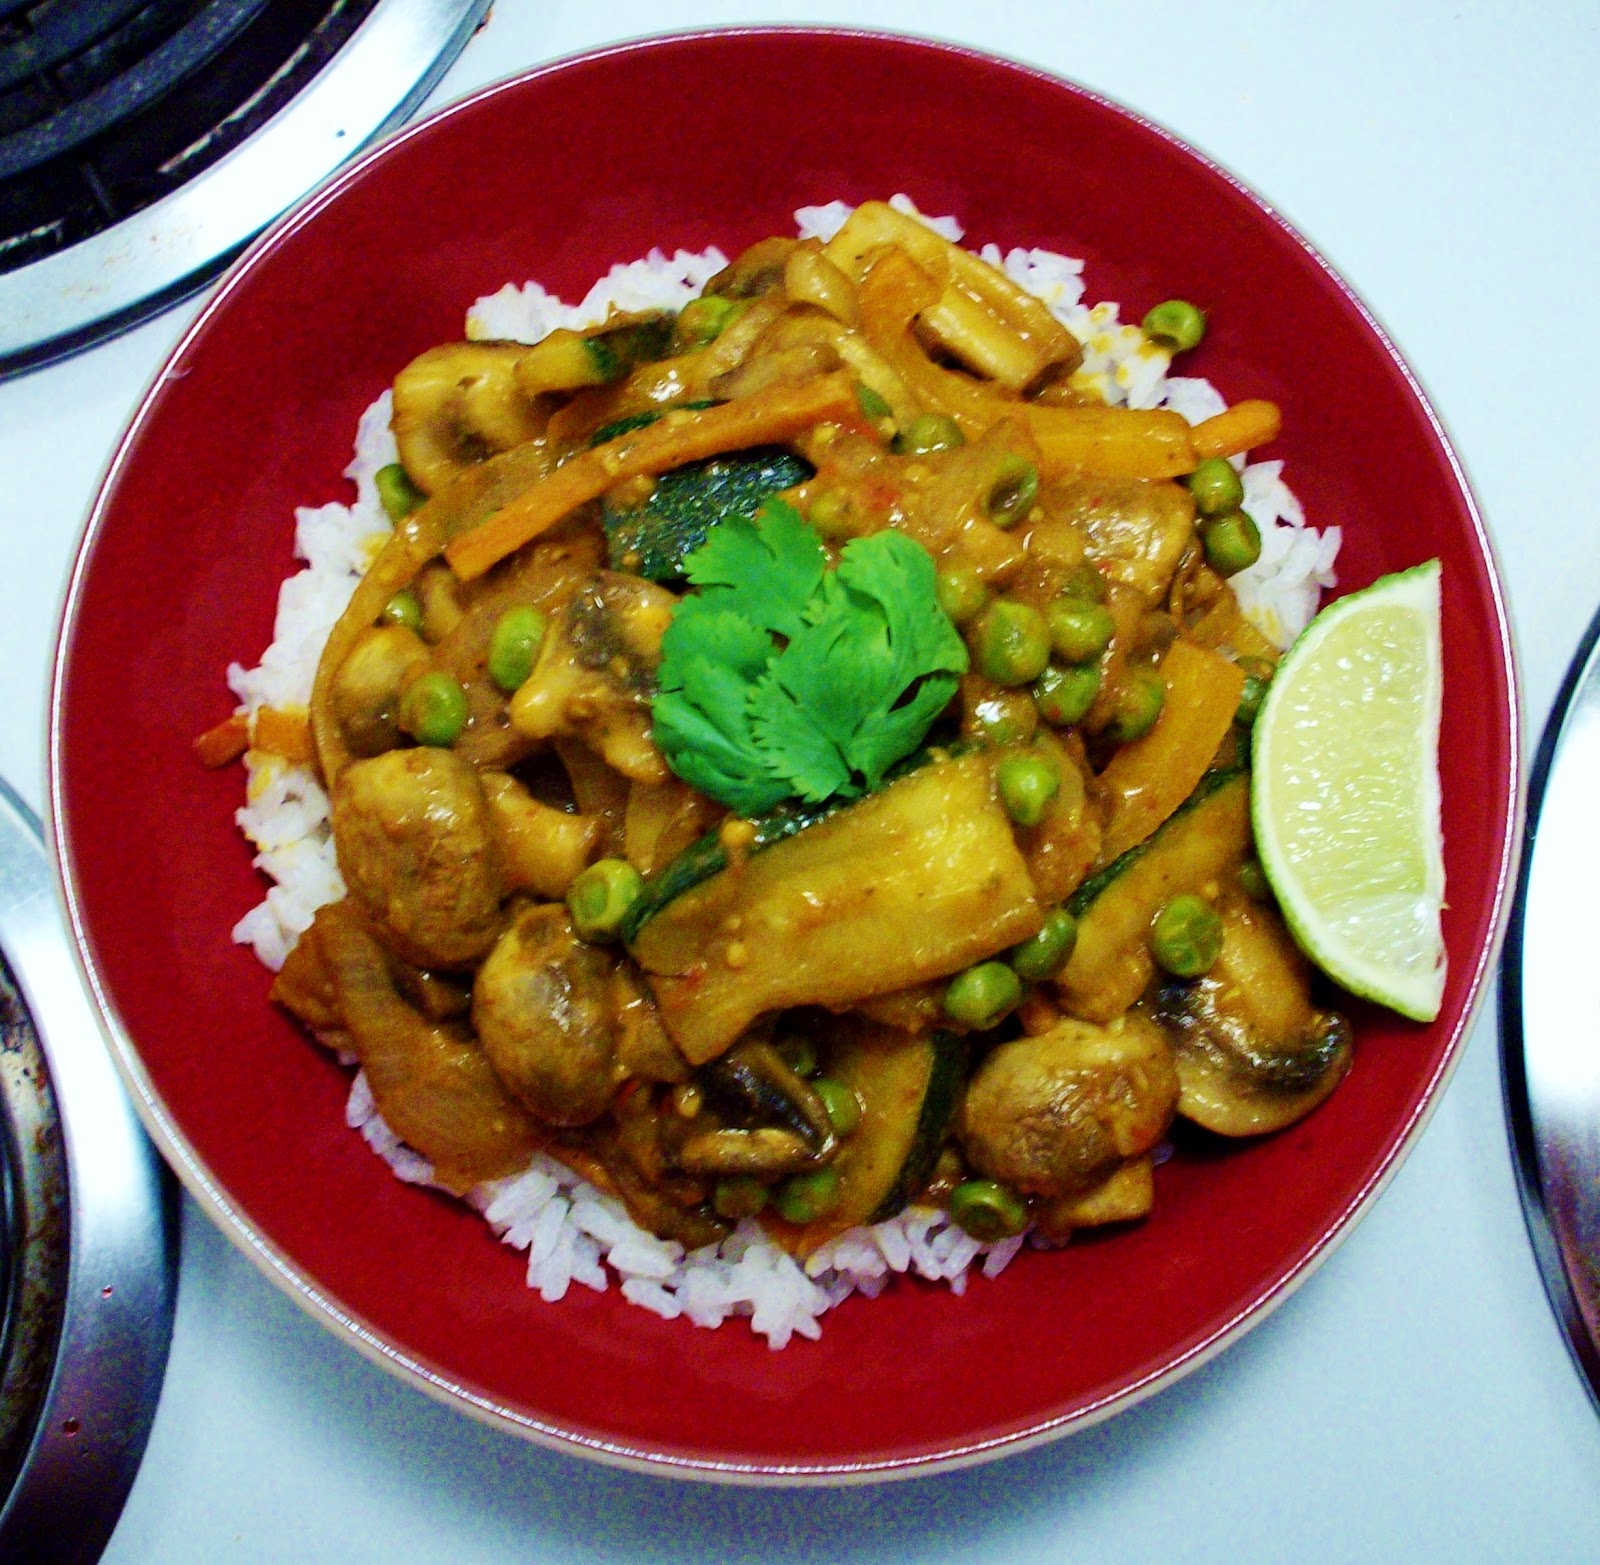
This dish also works great if you want to add some veggies. I've used spinach on several occasions, returning the drained noodles to the heat and adding some fresh baby spinach while I stir in the sauce. You just want them wilted a little bit. I bet mushrooms or asparagus would be lovely as well!

As a last note, do not store this pasta in the refrigerator and attempt to reheat it later. Make the amount of pasta you need and store any extra sauce in the fridge. That way when you want leftovers you can quickly and easily make more pasta and stir in the cold sauce with the hot noodles.