Showing posts with label vegan. Show all posts

Friday, January 4, 2013

Sushi Party!

My room mates and I love to have sushi night once in a while, and it always turns into an occasion. It is such an involved, hands-on process that it is impossible not to be a fun and entertaining evening.

Any time we at a restaurant and have an opportunity to order sushi, we do, but it gets very expensive very quickly. Not to mention that it is quite hard to find sushi that is completely vegan! Even if it doesn't have fish, it usually has cream cheese or a mayo sauce or something like that. The best solution to these issues is to make it at home.


Sushi making is both an art and a science that I am still working on perfecting. I'll try my best to share what tips and tricks I've been able to figure out thus far. The website www.makemysushi.com has helped me to come a long way.

You'll need to start with the rice, and this is the most important part. In the international section at the grocery store, you should be able to find sushi grade rice. Get either this or a medium to short grain white rice--don't be tempted to use the long grain that you've probably got on hand. Follow the cooking directions on the bag, and be careful not to let it brown on the bottom. In a pot on the stove, dissolve 1/2 rice wine vinegar, 1/2 white sugar, and 1/4 salt. Pour over hot, cooked rice and gently work with a plastic or wooden spatula to help it cool to room temperature.

Sticky, seasoned sushi rice.

Another important part is the sushi wrapper, a type of toasted seaweed called nori. I don't know much about brands, but get something that looked nice. I picked up terrible looking package (which I am pretty sure was about a decade old and it didn't have an expiration date for me to check) that was all in Japanese from a small Asian grocer, and it tasted terrible. I got a nice, new looking package with English instructions and bright colors and it tasted just fine. Trust your gut.


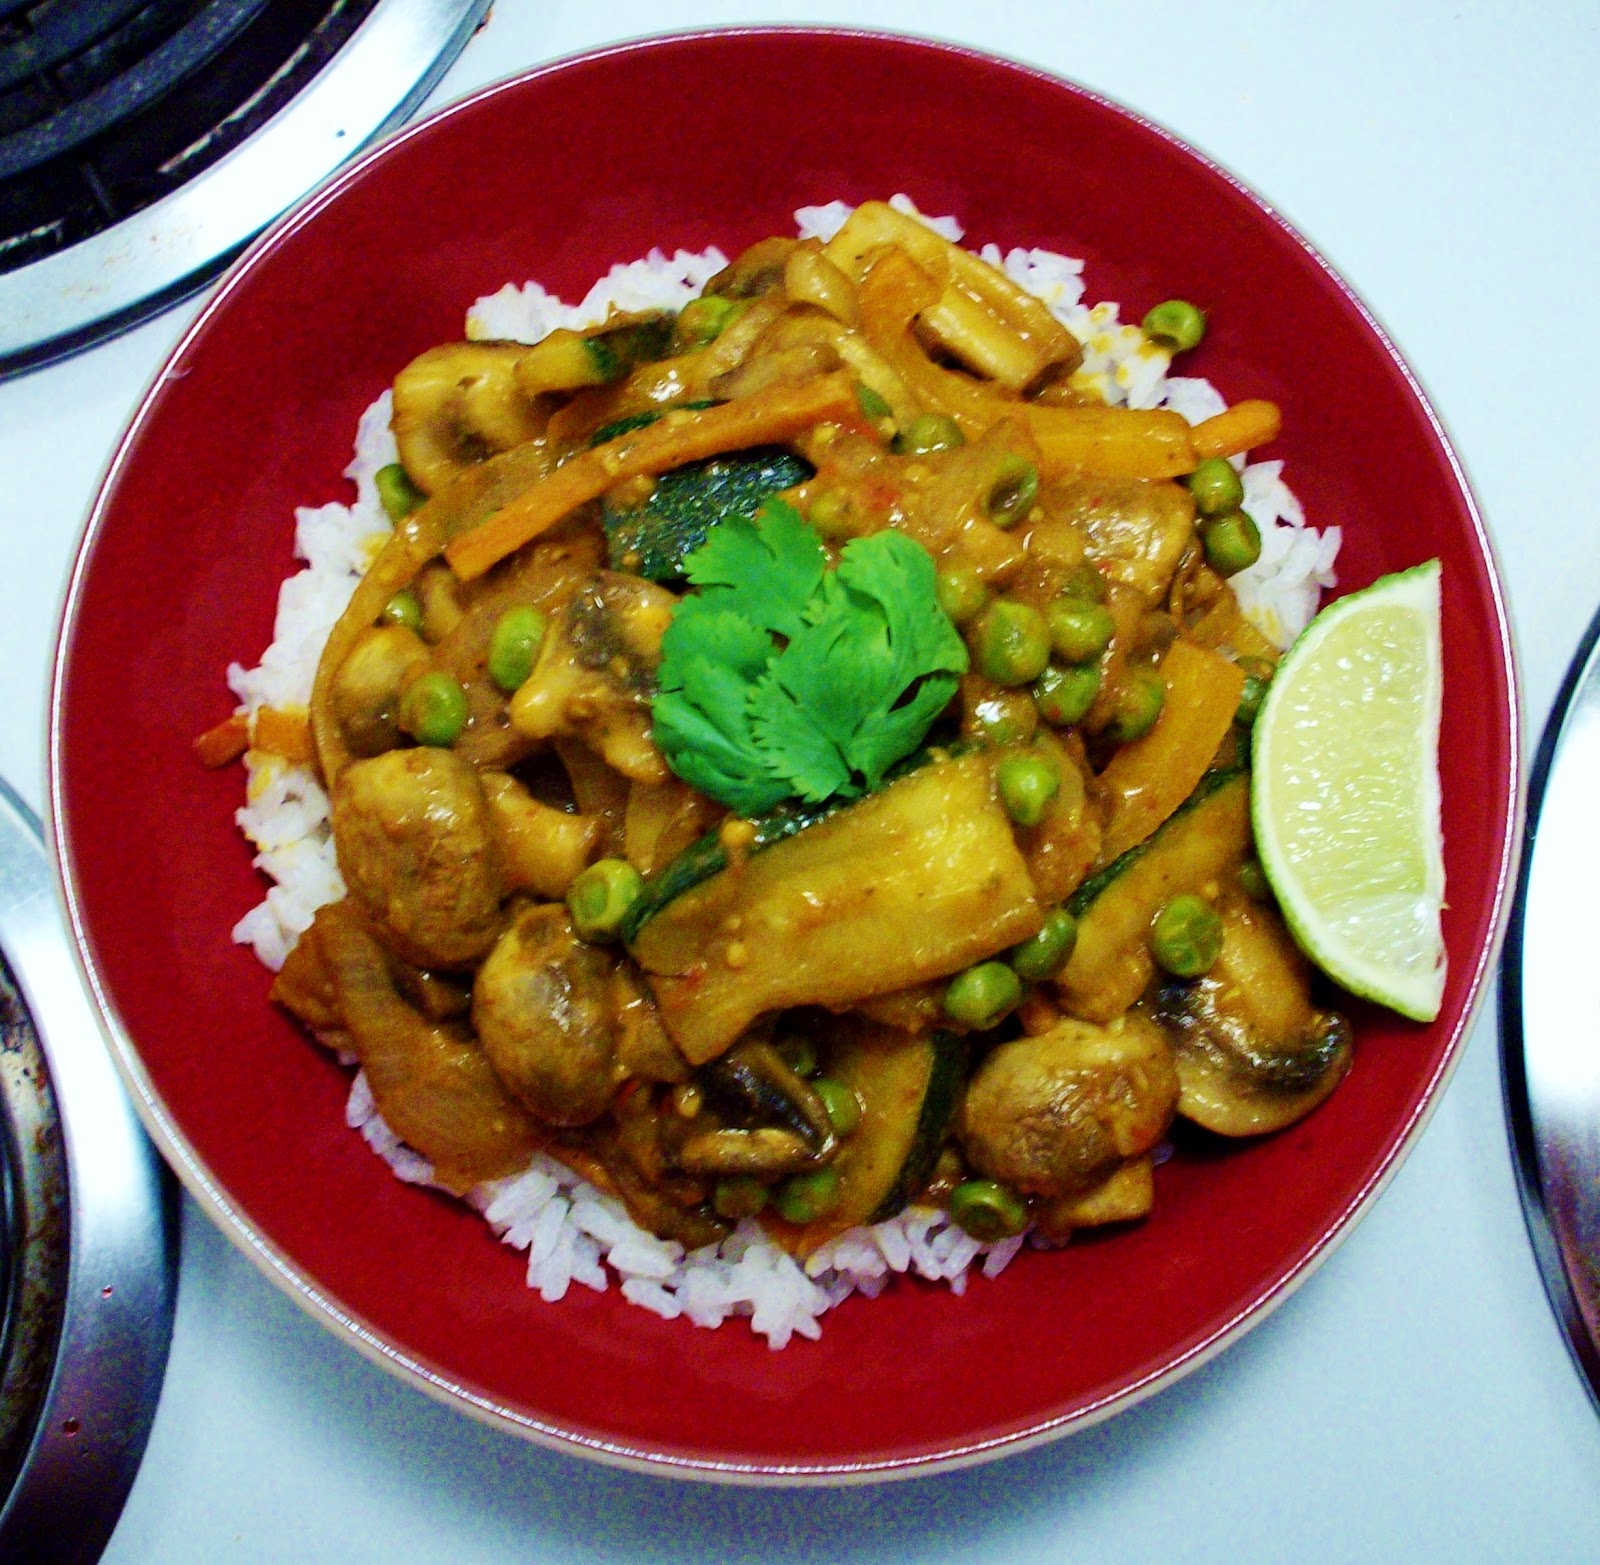
Finally, you'll need some fillings. I always have cucumber, green onion, and avocado. Make sure the avocado is fairly soft. I often also use carrot, bell peppers, lettuce, spinach, bean sprouts, and a Japanese radish called a daikon. I bet mushrooms and zucchini would also be great, and I've heard good things about plum sauce. This is the time to experiment and have fun. There is a sushi bar in Fredericksburg, VA that even serves up sushi with fruit filling. Go crazy! Also, this is a great opportunity to break out that dusty old mandolin with all those nifty attachments!

Vegan fillings!

Cucumber strips.
Fine slice attachment for the mandolin. I use the normal slice setting for cucumbers.

Julienned carrots.
A Japanese daikon radish. You can find it at Asian markets and large grocery stores.
I grated this one. They don't have a lot of flavor but they are good fillers.

Carla gnawed the rest of the avocado off of the pit.


Now that you've gotten everything prepped and ready, get out your sushi mat. It is essential to wrap it neatly in plastic wrap--I learned the hard way that there is no way to properly clean a dirty mat. Begin by laying a piece of nori on the bamboo mat, shiny side down, with the edge of the seaweed touching the edge of the mat closest to you.
 
I had a hard time rolling the first time because my seaweed wasn't scooted down to the edge of the mat closest to me. I also didn't wrap my mat in plastic and I should have turned the nori so that the lines matched up with the mat. Oopse!
 

Next, add the rice. You can use your fingers or a wooden/plastic spoon. Put a small heap of rice in the center of the nori and then begin spreading it outward. The layer should be very thin--you'll be sorry when it is time to roll if you are too liberal with the rice here. The layer should be thin enough the you can see the nori through the rice. Make sure it spreads all the way out to every edge except the one farthest from you--that edge should have about an inch left bare.

You can see that some of my rice got a little toasty at the bottom. Not good! Oh well--it still tasted alright and I learned for the next time to watch it closer. You can also see that my rice didn't go all the way out to the edges, which meant I had to discard the ends later.

Now it is time to fill it up! Start layering fillings on the edge closest to you. Don't go too wild here, or else you won't be able to roll it. Make sure these go all the way out to the ends too.

The is about the fullest the sushi should get. This turned into a big roll.

Here comes the hardest part: rolling the sushi. Slip your thumbs underneath the edge of the mat closest to you. Use your other fingers to tuck the vegetables in place while you roll the mat over top of the fillings. When the outside edge of the nori reaches the rice layer, slide the mat forward so it isn't trapped in the sushi and press firmly. Continue to roll forward until the entire sheet is rolled. Press the sushi log with your hands firmly to seal it and shape it. Unroll the mat and behold the beauty! This takes a few tries to get right, so don't be disappointed if it is a mess the first few times. Take a very sharp knife and slice it (half an inch to an inch thick, depending on how wide the roll is), wetting the blade with water between every cut.

Gorgeous! Makes me hungry just blogging about it...

My favorite part of sushi is the toppings. I usually do sesame seeds and sliced green onions, but I also enjoy spicy mayo. Just mix up vegan mayo, chili paste (like sriracha), chili powder, and/or roasted chili oil until it tastes right. You can also try ponzu sauce, teriyaki sauce, or make your own garlic-ginger-soy sauce. This is one area that I will definitely be playing with in the future.


I hope that this post has inspired you to get inventive and have fun creating delicious vegan sushi of your own. Let me know what you come up with!

Tuesday, January 1, 2013

Green Bean Casserole

While I didn't appreciate this tradition quite so much as a kid, in my adult life green bean casserole has always been the food I look forward to most during the holidays. My mom made it the way that I'm sure the majority of people remember their mothers making it--straight out of a can. A can a green beans, a can of cream of mushroom soup, and even jarred mushrooms all got dumped into dish together to bake. Definitely not vegan, and probably not as healthy as it otherwise could have been either. I was skeptical as I searched for a recipe that would even come close to inspiring the joy and comfort I remember from years past, and I was amazed to find that the fresh, home-made, healthy version of green bean casserole is actually even better than the original version!


Home-made Vegan Green Bean Casserole

I found this recipe on this blog.

Preheat the oven to 425 degrees.

First, put a pot of salted water on to boil. Have 1 1/2 to 2 pounds of fresh green beans trimmed and ready to go in. While you are waiting, slice up a container of mushrooms (about 12 ounces) and start those sauteeing in a separate pan. Add in three cloves of garlic, a pinch of cayenne pepper, and freshly cracked salt and pepper. Sautee the mushrooms until soft. When the water is boiling add the beans, cover, and cook for 6 minutes. Drain and rinse the beans in cold water to stop the cooking process.

Sautee the mushroom mixture and cook the beans.

In a bowl, whisk together 2 tbsp of flour and 3/4 cup of vegetable broth. Add this to the mushrooms with 2 tbsp of sherry and 3/4 cup soy creamer (or unsweetned soy milk). Simmer, stirring, until mixture is thick. Taste the sauce here and adjust seasonings--the salt in this recipe is hard to get right, I find. Add the cooked beans, toss, and then pour the mixture into a casserole dish.

Toss the green beans, mushroom mixture, and then top and bake.

In a food processor, process 1 1/2 slices of whole wheat bread, 1 tbsp Earth Balance, salt, and pepper until crumbly. Mix this while one container of fried onions and spread over the casserole. Bake for 15 minutes.

I thought about going all out and making some yummy, healthy breaded onion straws, but in the end I decided that that was more work than I felt like getting in to. Besides, what are the holidays with a little bit of fatty food and indulgence involved? This would be a fun future experiment though!

Thursday, October 4, 2012

Veggie Seed Burgers

Much, much better than the Black Bean Chipotle Burger that didn't work out a few weeks ago, this new burger recipe comes from Angela's Oh She Glows blog. While a little on the complicated side, this burger is the perfect texture and has a yummy nutty flavor. When you've just gotta have one, this burger recipe will definitely do the job.

Veggie Seed Burgers

The first step is to saute 1/2 of diced onions and 1 clove of garlic with a tiny bit of olive oil. While that is going on, mix up a flax 'egg' by adding 2 and 1/2 tbsp roughly ground flax seed and 1/2 a cup of warm water in a bowl. Stir and set aside for now.

Add to a large mixing bowl:
  • the sauteed onion garlic mixture
  • 1 cup of oats processed into flour
  • 1 and 1/2 cup bread crumbs
  • 1 cup of grated carrot
  • 1 cup roughly mashed cooked black beans
  • heaping 1/4 cup of finely chopped parsley (cilantro could also be lovely)
  • 1/3 cup chopped almonds
  • 1/2 cup sunflower seeds


Combine thoroughly with a spoon.


Now, in a separate small bowl stir together:
  • 1 tbsp soy sauce
  • 1 and 1/5 tsp chili powder
  • 1 tsp cumin
  • 1 tsp oregano
  • 1 tsp salt
  • black pepper to taste
Dump the flax egg and the spice mixture onto the burger mixture.


Now it's time to get your hands dirty. Knead and mix until thoroughly combined. The mixture should be sticky and like a very chunky dough.


Form dough into palm-sized patties. We got eight of them.


The last step is to fry in a tablespoon of olive oil, just long enough to brown both sides, and serve with any toppings. We did avocado, tomato, and lettuce, which was really good. I am thinking that some crispy onion straws would be delicious too! We did find that the burger could use a bit of salt though, so feel free to sprinkle some on your fixin's before putting putting on the top bun.

Pita Pizza

These fast, versitile, and delicious little pizzas are the perfect portion for a generous snack or light meal. Not to mention they are fun to make!

Pita Pizza

First, pre-heat the oven to 350 degrees. Assemble your pizza starting with a pita round spread with hummus (the more the merrier).

Cooked toppings could include:
  • tomato
  • garlic
  • mushrooms
  • onion
  • olives
  • herbs
  • asparagus
  • jalapenos
  • bell peppers


Pretty much anything would be good. Next, pop it in the oven for about 10 minutes. The pita gets so crispy and turns out like a chip. Then top with whatever raw ingredients and serve.

Raw toppings could include:
  • sprouts
  • spinach
  • basil
  • tomato
I'm sure that there are many more options than this. I'll be uploading and experiments and updating with new variations as I find them.


Enjoy!

Tuesday, October 2, 2012

Tips, Tricks, and Shortcuts

Here are some things that I've learned so far along the way:

1) Keep a bag of mixed chopped veggies in the fridge. Carrots, bell peppers, mushrooms, zucchini, onion, peas--just about anything will work. This will save time when you're in a hurry and the mix can be used for so many things, such as a quick curry or stir-fry.


Vegetable Curry

Vegetable Stir-Fry

2) Make extra rice to keep in the fridge. That way when you cook your pre-cut veggies you can serve them over pre-made rice for a cheap, quick, and easy meal! Just make sure the rice is covered tight so that it doesn't start to dry out.

3) Buy pre-chopped garlic. Almost every savory vegan recipe I have even made calls for chopped garlic. Instead of going through the hassle of doing that every time, buy a jar of garlic and just ladle in a tablespoon for each clove called for. Save the whole garlic and chopping it by hand for your better recipes that really deserve it.

4) Don't wash or peel things you don't need to. I don't peel carrots and I don't wash bagged lettuce. Unless you can see bugs or dirt, what is sprinkling a bit of water on it going to do? Absolutely nothing. If you are buying non-organic fruit you may want to rinse off any residual pesticides or other nastiness, however.

5) Don't bother to refrigerate packed lunches. In almost every recipe that I have made to take to school with me for lunch, there is nothing in them that would spoil from being left out at room temperature for a while. So instead of fussing with a insulated bag and a cold pack, I just toss a tupperware container and a fork into my backpack. This also means that you don't have to find a microwave to reheat cold food.

Btw guys, today marks the one month mark for my vegan challenge. I've lost 10 lbs so far and am still dropping fast! Why on Earth didn't I ever do this before now...?

Monday, September 24, 2012

The Results Are In (Drum Roll, Please)

Mildly disappointing, I didn't lose any weight this very last week. I blame waaaay too many alcoholic beverages and slices of cake on Friday and Saturday (stupidly just before my weigh-in). Just because the cake was vegan didn't mean it was calorie free. But hey, I've learned my lesson, forgiven myself, and am ready to move on to bigger and better things.

So, over the course of my three week Weight Loss Kickstart, I:

  • Lost 6 pounds
  • Lost 1 and 1/2 inches of off my hips
  • Lost 2 inches off of my waist
  • Lost 2 and 1/2 inches off my bust
  • Lost 1 inch off of each thigh
  • Gained a lot more energy, especially midday
  • Stopped drinking coffee and soda almost entirely
  • Completely halted my IBS episodes
  • Started developing a better self-image, outside and in
  • Cleared my previously conflicted conscience about eating ocean life
Not to shabby, I'd say! I am feeling really, really positive about all of this. So where to go from here?

Right now, I feel like I've only just begun a really awesome adventure--there is so much more to do and learn about food (and I do love food). Dr. Barnard tells me not to say, "I'm a vegan now," but instead to say "I will follow a vegan diet for the next (relatively short-term commitment here)." So what kind of commitment will I be making?

Check out my new name to find out. Hope you'll stick around!

Banana Pancakes with Home-Made Blueberry Syrup

This recipe was inspired by post on the Hungry Hungry Hippie blog. Not having any coconut on hand, I decided to make my own version.

Banana Pancakes with Home-Made Blueberry Syrup

Don't let the home-made syrup daunt you--it is actually incredibly easy and fuss-free. All you want to do is throw a handful of blueberries in a small sauce pot (however many you want to eat), cover them only about half way with water, add two tablespoons over your favorite sweetener, and start them off at a simmer. You'll notice that as soon as they get hot the blueberries begin to burst and turn the liquid purple. Yum! Go ahead and add the juice and the finely-chopped zest of half a lemon. After about 7-10 minutes remove it from the heat. It will congeal a little bit more, so I actually ended up having to stir back in a tiny bit more water to get the right consistency. That's it! So much more healthy than the store bought kind as well. Also, you could strain this if you don't want chunks, but I didn't.
 
Blueberry pancake syrup reducing.

Next, mix up the pancake batter. I've stopped measuring entirely, but I'll try to estimate:
  • 1 cup of almond milk
  • 2/3 cup of whole wheat flour
  • 2 tbsp of cane sugar
  • 1 tbsp of baking powder
  • 1 tbsp of vanilla extract
  • 1/4 tsp of salt
  • 1 mashed ripe banana
Basically, put all of ingredients besides the milk in a measuring cup and that add the liquid and whisk until it looks right. There really isn't a way to ruin it. Them fry 'em up (no butter needed)!

These go incredibly fast, so keep an eye on them.

Then just stack, top with syrup, and enjoy! This recipe yielded six pancakes, which is enough for one ravenous person or two regular person (and I'm not going to tell you which I was this morning).

Why yes, that IS gooey banana oozing out of the center. De-freakin-licious.

Sunday, September 23, 2012

Garlicky Kale

Big shout out to my friend Jessica for introducing me to this wonderful new food, which is pretty much my new addiction...


Garlicky Kale

There is just something about this dish. I've always liked kale, but I can just straight up eat this as a meal. The flavor is pungent, but it a really satisfying way like aged brie or a good crystallized Gruyere. This recipe probably isn't for non-garlic-lovers (or the faint of heart, for that matter), but for those of you who are I think you'll definitely be going back for more... again and again and again.

This recipe originally came from Brittany Mullins on Eating Bird Food.

In a food processor combine:
  • 2 cloves of garlic
  • 2 tbsp tahini
  • 2 tbsp apple cider vinegar
  • 2 tbsp lemon juice
  • 2 tbsp Bragg's Liquid Aminos (or soy sauce)
  • 4 tbsp nutritional yeast
Blend until smooth. There will be itty bitty pieces of garlic, but that is okay.

Garlic sauce--the nutritional yeast makes it yellow.


Wash, de-stem, and tear into bite sized pieces one bunch of kale. This is a whole lot of leafy green, so much sure you start with a very large bowl.

One bunch of fresh raw kale.

Next, pour all of the garlic dressing on the kale and thoroughly massage it into the leaves. It is a MUST to use your hands here. Take extra care to make sure the dressing is evenly distributed. If for some reason you don't have quite as much kale, don't put all of the dressing in. It is strong enough that a little goes a very long way.

Kale after the dressing is massaged in.

As you can see, the kale has already reduced in volume. The longer it is left to marinate, the more wilted the kale will become. If you want it really crunchy, eat it right away. If you would like your kale a little more manageable, let it sit in the fridge for an hour before serving.

Also, please excuse all of my window sill photographs--I know it's ghetto. It is the only spot in the entire kitchen that isn't dark though! Oh, and as a reward to myself today I bought some pretty ceramic fire-glazed dishes. No more monotonous plates! I don't know if you guys had noticed, but it was driving me crazy.

As always, thanks for reading!

Birthday Celebrations

I am having so much fun discovering all of the wonderful foods and restaurants to go to and eat at. This past Friday we went to Kabuki Japanese Steak & Seafood and enjoyed a hibachi show.

Kabuki Japanese Steak & Seafood

The building was beautiful. The ceiling was pained with stars, there were marine fish tanks everywhere, and they had a lounge featuring a waterfall.

Cucumber & Avocado Sushi and a salad with ginger dressing.

My first experience with vegan sushi was awesome--it was super yummy and I easily could have filled up on about five of those rolls.

My delicious sauteed veggies.

The very first thing the chef did was dump a gigantic bowl of mixed vegetables on the hibachi. I thought that they would be divided amoung everyone as a first course, but I was delighted to see that they were all for me!

This is what my plate looked like when I had eaten half of my food...
The leftovers were a perfect breakfast the day after!

The "Vegetarian Dinner" was wonderful. I didn't get the soup and grilled shrimp that everyone else got, but I was 100% content and satisfied with my meal. There was a garlic sauce to die for that I basically drown my already amazing veggies in, and then there was an amazing ginger and soy sauce dressing that was particularly good on the fried rice. So, so fantastic that I am starting to drool just remembering about it. And all for only $13!

Onion Volcano

Our Malaysian chef.

And on top of that, the show was good and the company was lovely.

James, Heenal, Carla, Helen, me, and Darren.

Ultimate Chocolate Cake

Friday was the birthday of both of my room mates, Carla and Helen. I am all about festivities, so I volunteered to make the cake.

Now, I will admit that I made the offer partially out of selfishness. I wanted to be able to eat cake too, which meant secretly making it vegan. Besides, I figured that they would be a game enough crowd to turn into my guinea pigs for a night.

If I hadn't told anyone, not a single soul would have suspected that this cake was not filled with butter and cream--that's how good it was. It was so fast, so easy, and so delicious. Incredibly chocolaty and very reminiscent of a moist brownie. Yum!

This recipe is from aliciak on Instructables.com.

First, combine 1 1/4 cups of flour, 1 cup of sugar, 1/3 cup unsweetened cocoa powder, 1 tsp baking powder, and 1/2 tsp salt in a baking dish (I used 7x9). Stir everything together with a fork.

Stir together dry ingredients.

Next, add to dry ingredients 1 cup of warm coffee, 1 tsp of vanilla extract, 1/3 cup of vegetable oil, and 1 tsp of distilled white or apple cider vinegar. This part is very important! If your vinegar isn't distilled and is diluted with water the cake will turn out to be a gooey brick. That would be a waste of perfectly good chocolaty awesomeness, so be careful. Mix everything thoroughly.

Cake batter after the wet ingredients are mixed in.


Next, bake at 350 degrees for 30 minutes or until a knife comes out clean. Mine actually took only 25 minutes, so keep an eye on it and adjust for the size of the pan you are using. Let cool completely.

Fresh out of the oven.

Lastly, pour the icing mix on top (see recipe below). It will cool very, very quickly so spread it fast. Let cool one hour.

The icing is almost more like a ganache.

Finally, decorate and serve! I hope you enjoy this as much as we did--I think that every single one of us went for seconds!

So delicious!

For the frosting, combine 1/2 cup sugar, 4 tbsp margarine, 2 tbsp almond milk, and 2 tbsp unsweetened cocoa powder in a small pot. Bring to a boil, turn down the heat, and then simmer for 2 minutes while stirring constantly. Remove from heat and stir for an addition 5 minutes. At this point the icing should go from gloopy and bubbly to smooth, silky, and glassy. Stir in 2 tsp of vanilla extract and ice cake immediately.

So shiny you can see your reflection in it...

I will be playing with this recipe for sure in the future. I made it exactly the way the instructions said this time, but I'd like to experiment with whole wheat flour, apple sauce, and some sort of unprocessed sugar. Stay tuned!